Getting Started
with Critical Deck.
Bring your datasets, documents, and files together, connect with others, in one intelligent space — where everything is searchable, shareable, and ready for discovery.
Background:
Critical Deck is a way to create, store, find, and share data — a smarter, more intuitive approach to databases. With Critical Deck, you can:
- Create your own databases, forms, and collections of information.
- Store datasets, documents, and images together in one organized space.
- Connect securely with others, making collaboration seamless.
- Search what you need instantly through powerful, content-based searches across connections.
To begin, simply sign up for Critical Deck and start organizing your world of information in a way that makes sense to you. Connect and share it with others.
Sign Up for Critical Deck
- Press any of the "Sign-Up", "Get Started" or "Try it for free" buttons on the Critical Deck home page and other pages.
- On the "Sign Up"page, enter your full name and then a valid email address.
- In the space provided, enter the password you want to use.
- Click on "Sign Up". An email will be sent with a special code to the Email Address you entered.
- Open the email and click on the verification link provided. This will take you back to Critical Deck.
- Enter the code that you were given. You will be taken to the EULA agreement
- Accept the agreement
- You will be taken to the Critical Deck Application's main page.
- You are now signed up and can start using Critical Deck!
Sign in to Critical Deck
- Click on the "Sign In" button on the top right-hand corner of any page on the website.
- On the "Sign In" page, enter the email address you used to create your account.
- Enter the account's password.
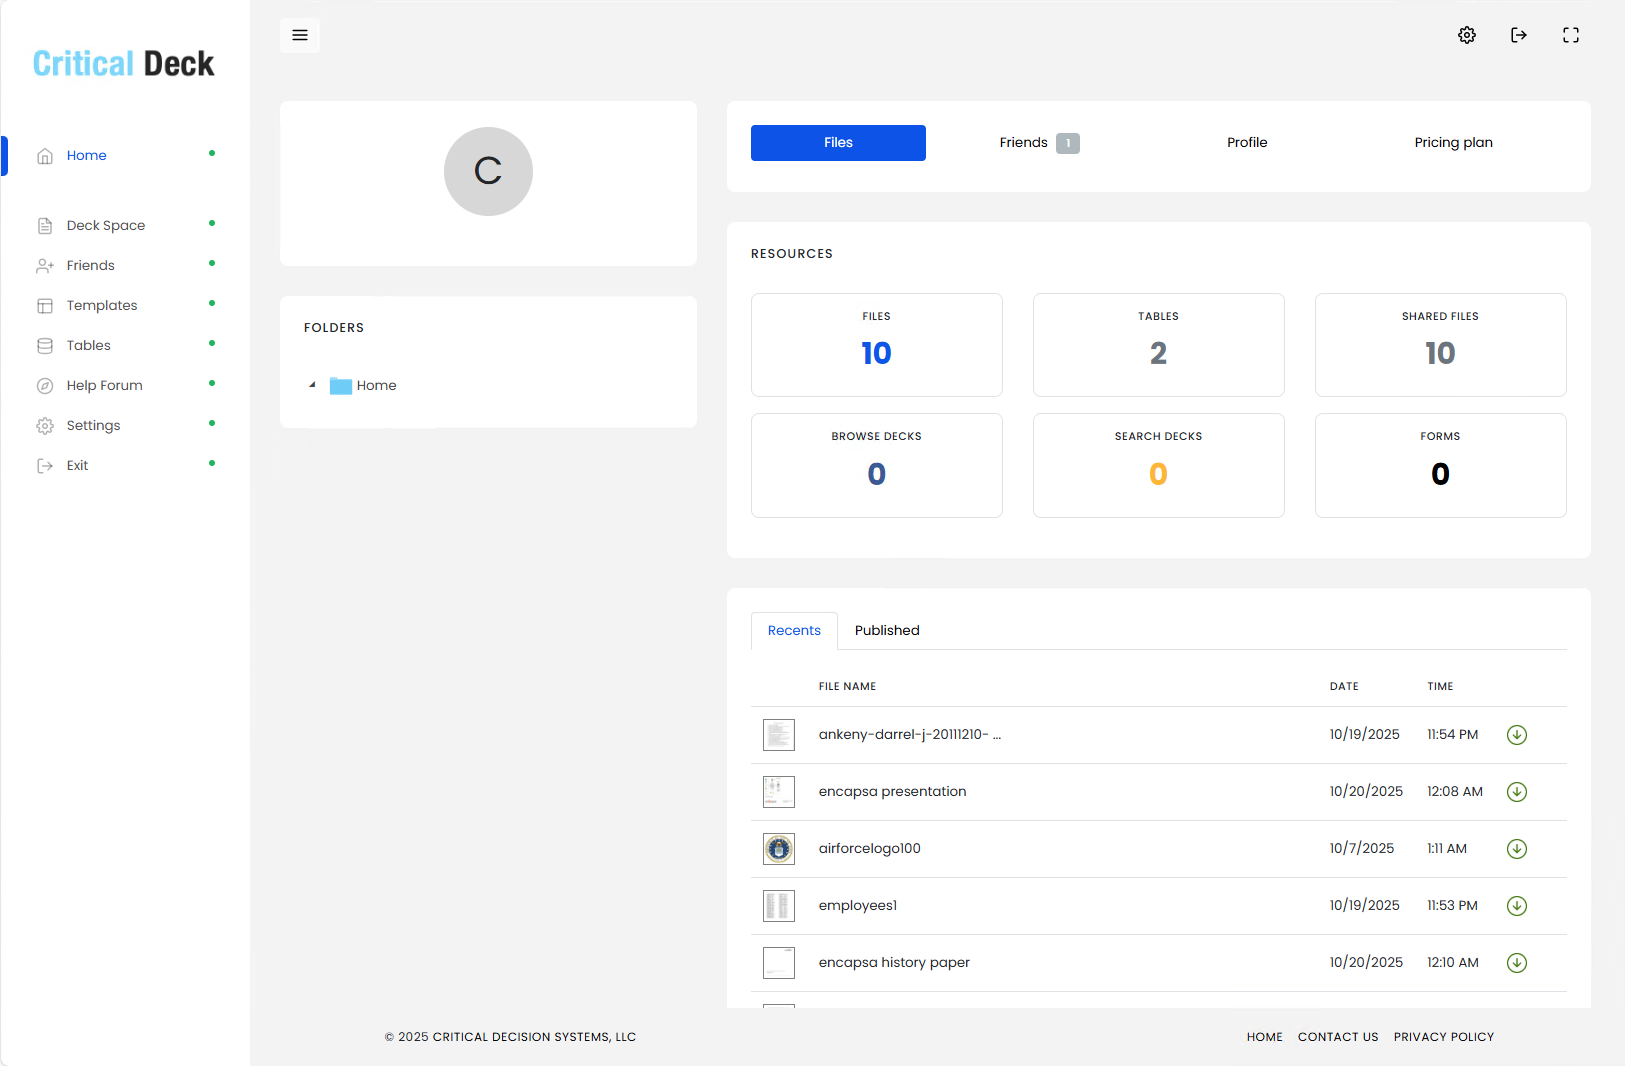
Critical Deck's Home Page
Once you sign into Critical Deck you will be taken to the Critical Deck home page. This, like all pages in Critical Deck, will be divided into two frames, left and right.
The left frame lists, in the form of menu options, the main functions available to you. It is from here that you will view and manage the files that you will upload and share with other users.
The right frame will contain displays, output, and all the context-based functions that you can perform with Critical Deck.
When you first enter Critical Deck, the right frame will have a basic dashboard showing your published documents, the number of friends you share your data with, any folders that you would have created, your user profile, and your current subscription plan.
Uploading files with Critical Deck
Once you have created your user account you will have your own data store starting with what we call a "Deck space". You can start uploading data in the form of CSV files, documents or files, to your store. It is the datasets, documents and general files that you place in this store that you will search, analyze and then share with other users.
To upload a file:
- Click on the "Uploads" menu option.
- Click on the "Upload" icon on the toolbar situated on the right of the screen.
- Choose a file to upload using the file selector that will appear.
- Critical Deck works with CSV and common file types.
- The file you uploaded will be added to Critical Deck. It will then appear in preview form in your Deck Space .
- More ...
To publish a document:
- Click on the vertical ellipses button on the top right-hand corner of a file, document or dataset in the Deck Space.
- A Drop-down menu with several options including “Publish” will appear.
- Select “Publish” this makes the document, file or form available to, and searchable by, other users.
Connecting to other users.
To create a Friend connection:
- Click on the ”Friends” menu option in the left side frame.
- On the friends’ screen that appears, click on the “New Friend Request” button.
- From the pop-up list of all users that will appear, select the user you want to connect to.
- Click on the "Send" button. A “friend” request will be sent to that user.
To view connection requests from other users:
- Click on the “Friends” menu option the left menu bar.
- Click on the “Friends Requests” tab. A list of connection requests will be displayed.
- Click on the “Confirm” button on a request to accept the request. The request will remain "unconfirmed" until you click on this button.
Once confirmed, you will have a friend connection to that user. This means that you will have access to each other’s published files and data. Now, any searches you make will include searches of your friend's Deck spaces.
In the "Friends" area you will also see all your “Friend Requests” and, under the “Requests Sent” tab, any “Friend” requests that you would have initiated.
Clicking on any person in your Friends list will bring up their "Friend" profile (name, address etc., if entered).
Creating a Form:
- Click on the ”Templates” menu option in the left side frame.
- Click on the Section box to name a section (a section divides your form into multiple parts, i.e. demographics containing fields like age, birth date, etc. and biography containing history ot profile information .)
- Click on the Fields box to a field
- Each entry builds the template which presents as the form that can then be used to enter data, and saved in a Deck Space.